It's about time I post a little something about how I've been "greening up" my personal hygiene routine. While I enjoy the peace of mind that I'm not exposing myself to unnecessary chemicals, I especially like how economical these methods are.
First, a no-poo update. If you've been following along, you're well aware that I've given up shampoo and conditioner for the "no-poo" method of cleaning my hair. Read more about it here and here. I'm still going strong with that, and have even got a friend on the bandwagon with me. She shared similar frustrations with finding a shampoo/conditioner that didn't grease up and weigh down her hair but also didn't dry her scalp. If you're curious, go to the two links above as they describe how no-poo works. There are 2 things I do differently now: 1) I put a sachet of dried lavender into the bottle of vinegar which scented it and has helped soothe my itchy scalp and 2) I clean with baking soda and vinegar less often - I've got it down to once a week. Once your hair stops overproducing it's natural oil, you don't have to wash nearly as often. I still wash my bangs daily, however since they tend to get oily fast. I use soap for that (Dr. Bronner's Shikaki Soap, if you're really curious), so I guess I cheat a smidge :)
Next, deodorant. In this great less-chemicals-more-naturals lifestyle many of us are trying, deodorant/antiperspirant is one of the big bad guys. I won't go into detail about the chemicals in cosmetics, that's for website articles like this. Many of us have tried natural varieties of deodorant only to be disappointed by the fact that they don't really work. Enter: baking soda. It deodorizes trash cans, refrigerators, smelly shoes and yes, your armpits. It's quite simple, really. I put some baking soda in a small cosmetic jar (that used to hold some kind of facial cream). I put about 10 drops of lavender essential oil, screwed on the lid and shook it to mix in the oil. You can use whatever scent you like, or none at all. I tried applying the powder with a makeup brush, but that made a mess so now I get some powder on the brush, brush it onto my hand, and then apply with my hand to my underarms. Mess-free, keeps me stink-free (at least that's what J has assured me because I asked him a lot in the beginning!!), and best of all chemical-free. I've been going strong for about a month now, so I think this is a habit that is going to stick. (Not stink...hahahahaha)
Finally, moisturizer! I had such a hard time finding a facial moisturizer that worked well. I have combination skin, and I found that commercial products would either end up leaving my skin super oily or not moisturized enough. The better products I found were in the $30 range; not very economical. Then I read about using oil as a moisturizer. I was skeptical at first - oil would leave me oily, right? I bought coconut oil and jojoba oil at my local health food store and fell in love. Coconut oil is wonderful, smells delicious, and while it goes on greasy it absorbs quickly. In the summertime, I used it at night before going to bed but now I use it twice a day as the winter air is more drying. It works well for a facial and body moisturizer. Jojoba (pronounced "ho-hoba") oil is lighter and also absorbs quickly. I used it more often in the summer. Sometimes I'll put a bit on the ends of my hair if I notice they are dry. Coconut oil will become solid below 75 degrees, but have no fear, once you touch it the right amount will melt due to the heat from your finger. The jojoba oil has always stayed liquid. I've heard of people with very dry skin using olive oil as well, but I haven't tried it.
Have any of you tried these methods? What kitchen cosmetics have you found to be useful? This is a topic that really interests me, so I'm curious to know your opinions.
Blessings!
M
Friday, December 17, 2010
Friday, December 10, 2010
look who decided to join the party!


The parsnips have arrived! Hip Hip Hooray! Now the mini-farm is complete. Hopefully I continue to have a green thumb and each variety makes it to fruition.
Today I did the nasty (albeit necessary) task of thinning. This is what the damage looked like.

That big pile in the front are the turnips. There were so many sprouts!! The stringy ones are leeks, and then there's kale, carrots, and broccoli. It seems like cruel and unusual punishment but if I really want to eat a turnip then I have to make room for growth.

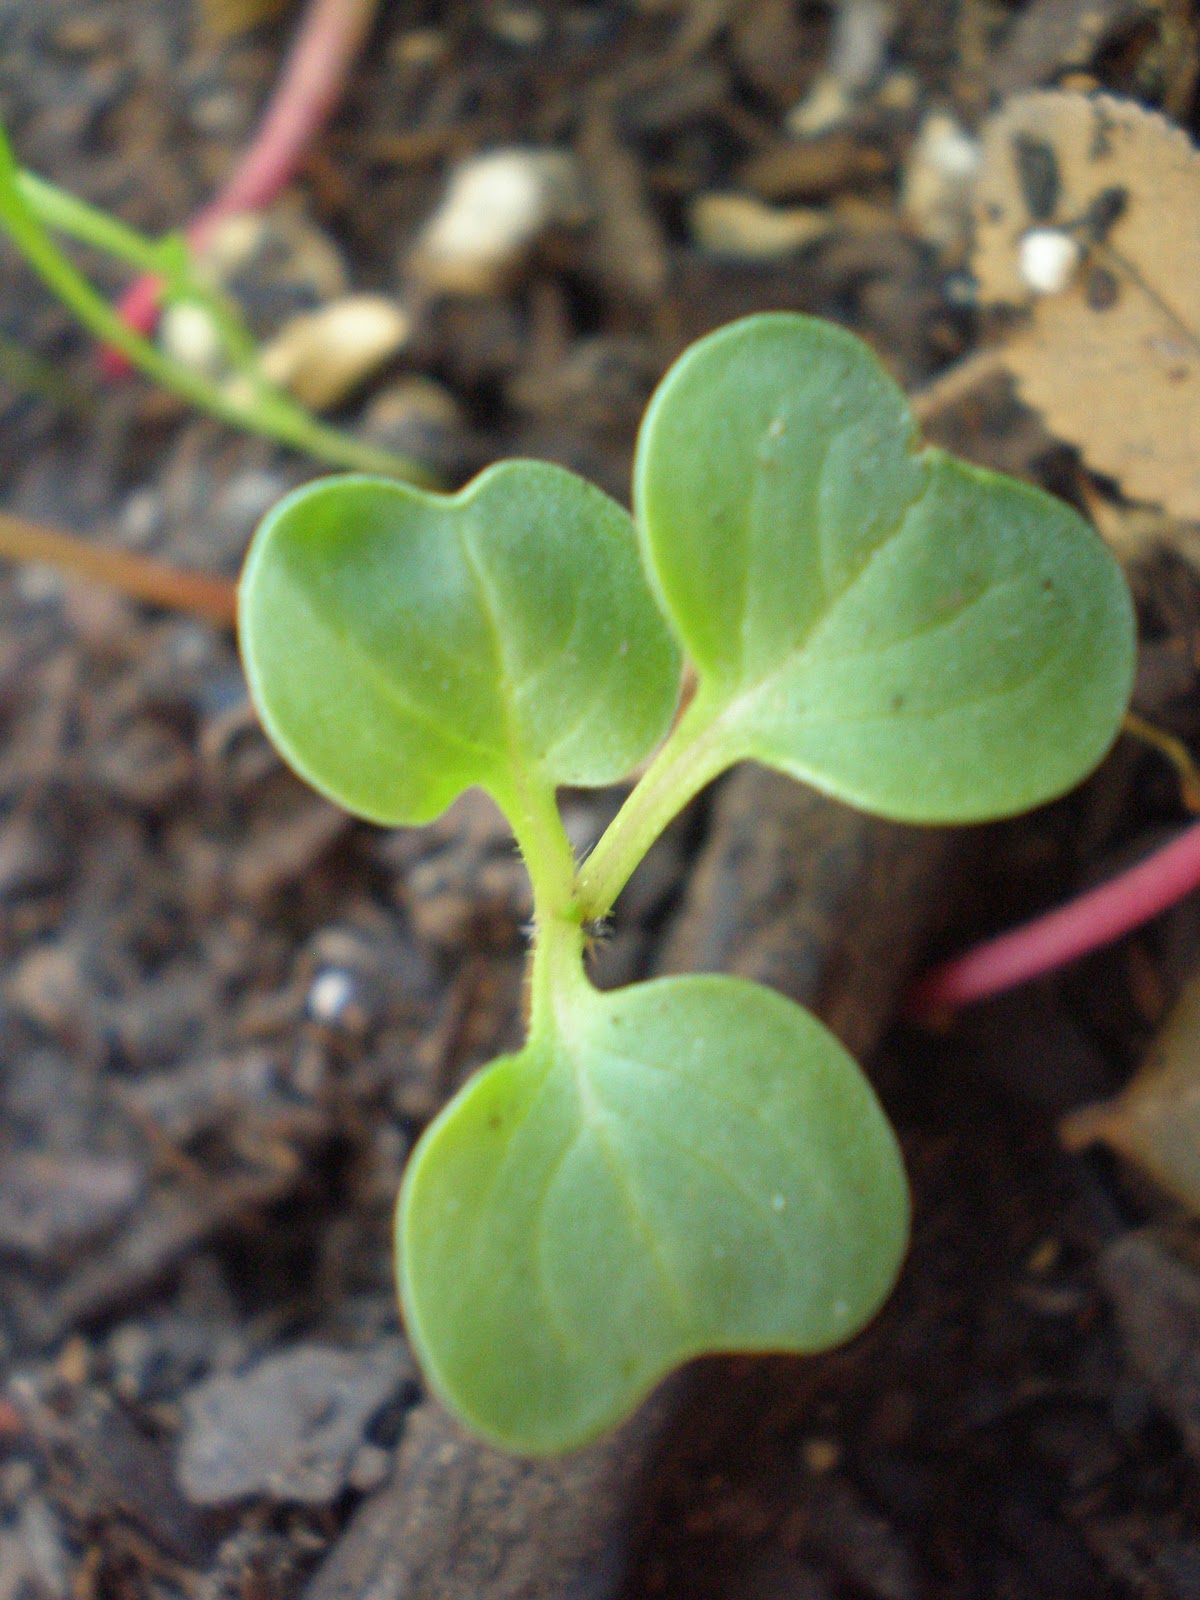
In other news, something munched on this pea plant! Apparently it didn't like it because I didn't see any evidence of munching on any of the other peas. (phew)

A happy row of peas and favas. If all goes well we'll be quite well fed!

Snapped on the way to the garden. Proof that L.A. does have seasonal changes, however subtle. ;P
Happy weekend, all!
M
Sunday, December 5, 2010
lessons in patience, then joy
 |
| I made some "row" markers |
I'm learning that this whole growing your own food thing takes a lot of patience. And a lot of trust that what you plant in the ground will actually produce something edible! I've been checking on the mini-farm about every other day, and while there is progress it is slow going.
 |
| Pea 11/24 |
 |
| Pea 11/ 29 |
 |
| Pea 12/5 |
 |
| Pea Signage |
I'm sure this impatience is a symptom of living in a fast-paced society where anything I want is fairly easily within reach. If I wanted peas I could just go to the store and buy some. Why plant them myself and wait for them to grow? I mean, really; if I wanted soup I could just go to a restaurant and buy some. Why make it myself?
 |
| Turnips 11/24 |
 |
| Turnips 11/29 |
 |
| Turnips 12/5 |
Why? Because the art of caring for oneself, of knowing how to nourish oneself from the ground up is becoming lost and I want to keep it alive. And I know that in learning to tend to the lives of the plants that will sustain us, I am learning how better to sustain myself.
 |
| Broccoli 11/24 |
 |
| Broccoli 11/29 |
 |
| Broccoli 12/5 |
 |
| Broccoli Signage |
Besides being a place which will contribute to our physical sustenance, I am finding that the mini-farm is a restorative haven. I love visiting. My favorite part is listening to the ground absorb the water. It sort of snap-crackle-pops its way down to the roots of the little baby veggies.
 |
| Radish + Beet 11/24 |
 |
| Beet + Radish 11/29 |

 |
| Radish 12/5 |
 |
| Beet 12/5 |
As a nurse, I work three twelve-hour shifts a week. Sometimes I have to stop by and water on my way to work at about six am. On Friday I did just that, and knowing that I would be taking care of a patient who is dying I took an extra moment to thank the earth for giving life even when life is being lost. That act helped give me the perspective I needed to keep my attitude positive throughout the shift.
 |
| Carrot 11/24 |
 |
| Carrot 12/5 |
 |
| Carrots 11/29 |

Another joy I've discovered is in sharing the garden with others. Today J and I watered the garden after church, and in doing so attracted some of the children. We showed them what plants we were growing, and they giggled with delight when the water "accidentally" squirted them. As we were about to leave, a couple of our friends asked how the garden was growing, and we eagerly led them back to the garden to show off its progress. It is fun to share the joy of new growth, a foretaste of the joy that will come in sharing the harvest.

 |
| Leek 11/29 |
 | |||||||||
| Leek 12/5 |
Except for the parsnips, everything we have planted has begun to sprout! The chard and kale look a lot like the beets and broccoli, respectively.
 |
| Chard 11/24 |
 |
| Chard 11/29 |
 |
| Chard 12/5 |
 |
| Kale 11/24 |
 |
| Kale 12/5 |
I've saved the best for last; my favorite are the fava beans!
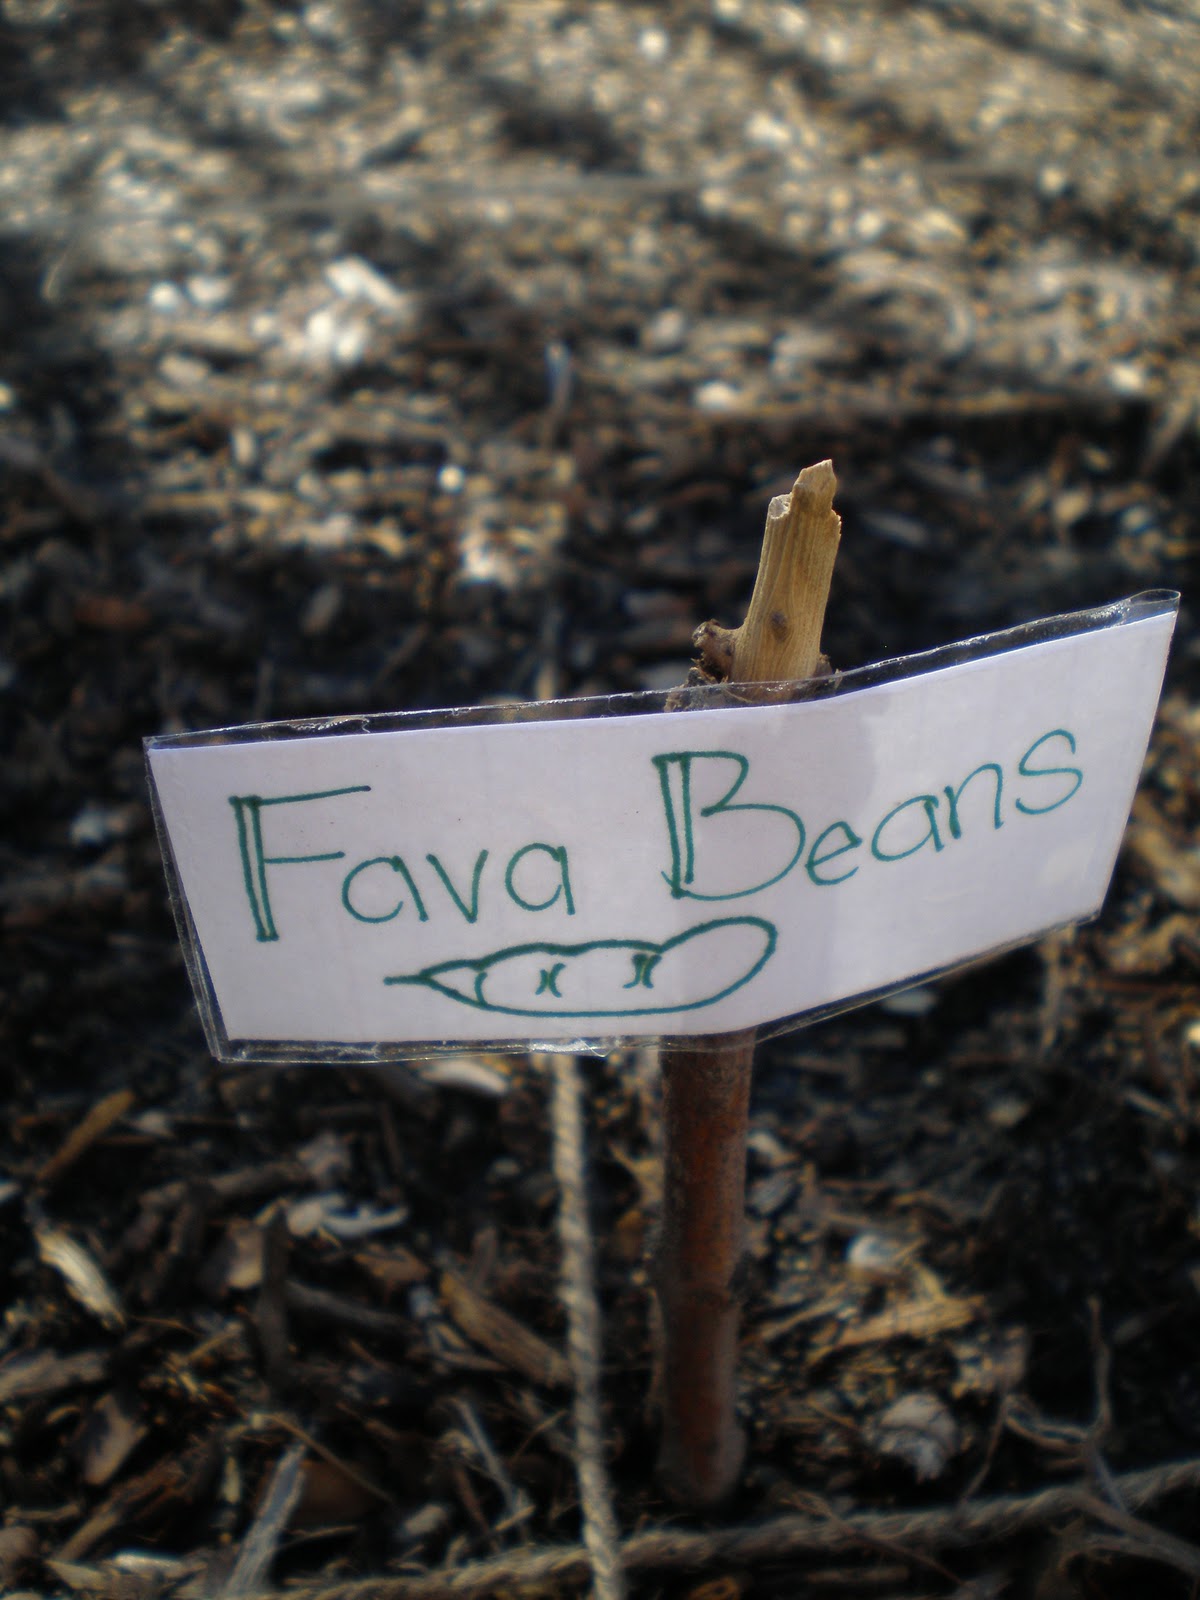
 |
| Fava 11/29 |
 | ||
| Fava 12/5 |
Waiting for the crops to grow is an exercise in patience, but there is joy to be found within the process.
What are you waiting for? How can you find joy in the space that is created by waiting?
Blessings,
M
Wednesday, December 1, 2010
I'm glued.
I've recently joined a forum called "Down To Earth Forums." It's a space where do-it-yourself-ers gather and talk about all sorts of things like growing your own food, raising livestock, making your own chemical-free cleaners, making your own soap, crafting, cooking, etc. It's basically home ec for those of us who are too young to have had it in school! It's a great place to ask questions - example: when my radishes didn't seem to be growing, I made a post on the forum and got some much-needed advice. (Namely, thin your radishes even though it seems like cruel punishment and give it time).
Anyway...I've titled this post "I'm glued" because yes, I am glued to Down To Earth Forums, and thanks to a post someone put up I'm glued to this mini-series documentary called Victorian Farm and that's why I haven't blogged about The Minifarm in a week or so even though there is plenty to write about. I've spent every spare moment watching this show on youtube.
Here's the first 10 minutes so you can be hooked too:
Sunday, November 21, 2010
radishing radishes.
I know, I know. All of my attention has been focused on The Mini-Farm. So much so that you thought I'd forgotten my humble radish and carrot plot right outside my own front door. Not so! I've been checking on it almost daily (and watering as often).
Here's what I've found:

Here's what I've found:

radish poster child.
I'd say this one is almost ready to be picked! It is also the most normal looking radish of them all; the rest of the stems are long and horizontal to the soil as they reach for the sun. Even growing sideways, they are beginning to swell!
Saturday, November 20, 2010
We christened it...
(by "it" I mean our little plot in the community garden)...J&M's Mini-Farm. Or The Mini-Farm for short. Yahoo!
J and I began work on our plot 6 days ago. Here is a chronicle of the events:
Step 1: Bought all of the seeds and took hours planning where each plant should go. See my last post for all of the details.
Step 2: Measure and mark off the the 1 foot by 1 foot squares using stakes and twine.


J and I began work on our plot 6 days ago. Here is a chronicle of the events:
Step 1: Bought all of the seeds and took hours planning where each plant should go. See my last post for all of the details.
Step 2: Measure and mark off the the 1 foot by 1 foot squares using stakes and twine.

J tying twine to a stake

The grid takes shape
Step 3: Study the "map" and start planting!

The map. A little hard to read, but you can sort of see that I have a place for each crop and how many of each crop can grow in a square foot. The map is based on the websites I shared with you in my last post.
Step 4: Get really bummed because I forgot that some of the seeds had to be soaked overnight before going into the ground. Hence the beans, peas, beets (much to J's disappointment), chard, and parsnips had to sit out planting day. Boo!
Step 5: Shrug it off and plant the rest of the crops. Leeks, carrots, kale, broccoli and turnips are in the ground!
Step 6: Water, water, water.

a watering pro
Step 7: Go home. Place the beans, peas, beets, chard, and parsnips in ramekins of water and let soak.

Top row: beets, peas, chard
Bottom row: Beans, parsnips
Step 8: Return to plot a day and a half later, plant the remaining crops, now happily primed for germination.

pea in a hole
Step 9: Water, water, water. Then proudly stand over your plot, beaming in the sunlight. Photograph it.

The Mini-Farm. In all of its glory.
Oh, and in case you're wondering, those two craters you see in the front corners of the plot are where the leeks are planted. As the leeks begin to grow, we'll fill in the dirt around them to blanch the stems.
So, there you have it! Our first planting endeavor. I went to water the Mini-Farm yesterday (which would be Day 5 post planting) and I saw little turnip sprouts! So far, so good!
Will keep you posted on the Mini-Farm's progress.
Blessings,
M
Wednesday, November 10, 2010
I bought the seeds.
:) :) :) :)
I bought the seeds for our little plot in the community garden! Here's what I got:
Shelling Peas (Progress #9)
Leeks
Broccoli (Di Cicco)
Beet (Early Wonder)
Spinach (Bloomsdale)
Turnip (Purple Top White Globe)
Swiss Chard (Five Color Silverbeet)
Kale (Dinosaur!)
Fava Beans
Oh, and I'll have a patch of carrots (and radishes, duh).
All of my seeds are from Botanical Interests. Mainly because this is what my grocery store (Henry's Markets) sells, and because they have plenty of heirloom and organic varieties.
I was aided in choosing my crops by this helpful planting guide, specific to Southern California.
I've decided to use the square foot gardening method since our garden is so tiny. It seems to be the most space-efficient (and organized) gardening approach. This website is incredibly helpful - it tells you how many plants will fit in a square foot, and how to figure that out based on what the seed packet says. Genius!
And then I made a little map of our 4'x6' plot on a piece of paper, with each square inch representing a square foot of our garden. I plotted out where each plant will go, because I'm anal like that. Once I figured out how many squares each plant would take (for example, in one square foot you can only have one broccoli plant but can get as many as 16 carrot plants) I looked up companion planting because heaven forbid I plant two varieties that don't get along right next to each other.
Figuring out where each plant would go was like solving one of those annoying math/logic problems they had us do in elementary school. You know, the ones that go something like "Jimmy is twice the age of Mary. Mary is four years younger than Bob. Bob is two years older than Jimmy. Kelly is seven, and is half the age of Mary. How old is Bob?"
Ok, don't try solving that because it doesn't really have an answer. (I just made it up) But you see my point. You remember those third-grade math meltdowns and getting all anxious because the problem was taking too long, and you just wanted to solve it and get on with the rest of your homework so you could go out and play. Except in my case (the what should be planted next to what case), it was a little more fun because I knew there was an answer and a point to my "figuring out" where everything should go, in spite of all of my erasing and re-writing, erasing and re-writing, and then finally! A finished plan!
Did I mention that I'm anal like that?
Can't wait to start planting in t-minus four days! Don't you worry, I'll take lots of pictures.
<3
M
Tuesday, November 9, 2010
What to do with sage.
Our church hosts a monthly produce exchange, where the community is invited to come and give excess fruits, veggies, herbs (and I've even seen books) and take what they wish. You can even come and just be a taker, no one minds, and even with all of the takers there are plenty of leftovers.
In fact, the produce exchange is such a wonderful event that I'll even abandon all of my former obsessions with privacy and tell you that the produce exchange meets the first Saturday of every month at the big, pink Methodist Church (hosted by Mountainside Communion Church, which meets there) on Palm Ave. So if you're local (or if you're not), don't say no one told you.
ANYWAY! All that's to say that I missed this Saturday's produce exchange because I had to work, but on Sunday morning there were all sorts of leftover goodies - limes, persimmons (personally, not a fan), and a beautiful glass jar full of sage and parsley!
I took four limes and the herb jar.
And I carried my little treasures home, all the while contemplating what on earth I would do with so much sage. There wasn't that much parsley, and parsley's not so hard to contend with.
So the herbs sat on my counter, looking all pretty like this for a couple of days:

isn't that lovely?
Of course, sitting around on my kitchen counter looking pretty can only last for so long. So today, I did some sage research (and here and here also) It has all sorts of culinary and medicinal properties, which these links can further explain. I decided to make an infusion of the sage leaves, some of which to be used on my hair as I am dandruff prone and the rest of which to be ingested as a warm tea, which has properties as a dietary tonic, memory booster, and mucus buster (helpful for allergies and asthma).
I put about 2 cups of leaves in a small saucepan, fired up the teakettle, and then poured the just-below-boiling water over them and let them steep for about 1/2 hour. I strained the tea through muslin cloth into mason jars. There was enough for two jars. I tasted the tea - it is super strong, just as every website warned. I'd agree that it's an acquired taste. Quite bitter. Apparently the addition if lime juice and honey makes the infusion more palatable. And since I have limes (yay produce exchange!!) I'll have to try it.
Be warned! Sage is not to be consumed in large quantities! One of it's essential oils (thujone) can build up and become toxic, causing convulsions. So don't drink sage tea with every meal every day and you'll be fine (this is purely anecdotal advice. I am not an herbalist). Oh, and don't take it when you're pregnant (thujone is an abortifactant) or nursing (unless you're weaning and want help with drying up your milk).
Now that you've been fairly warned, a photo of the final product!
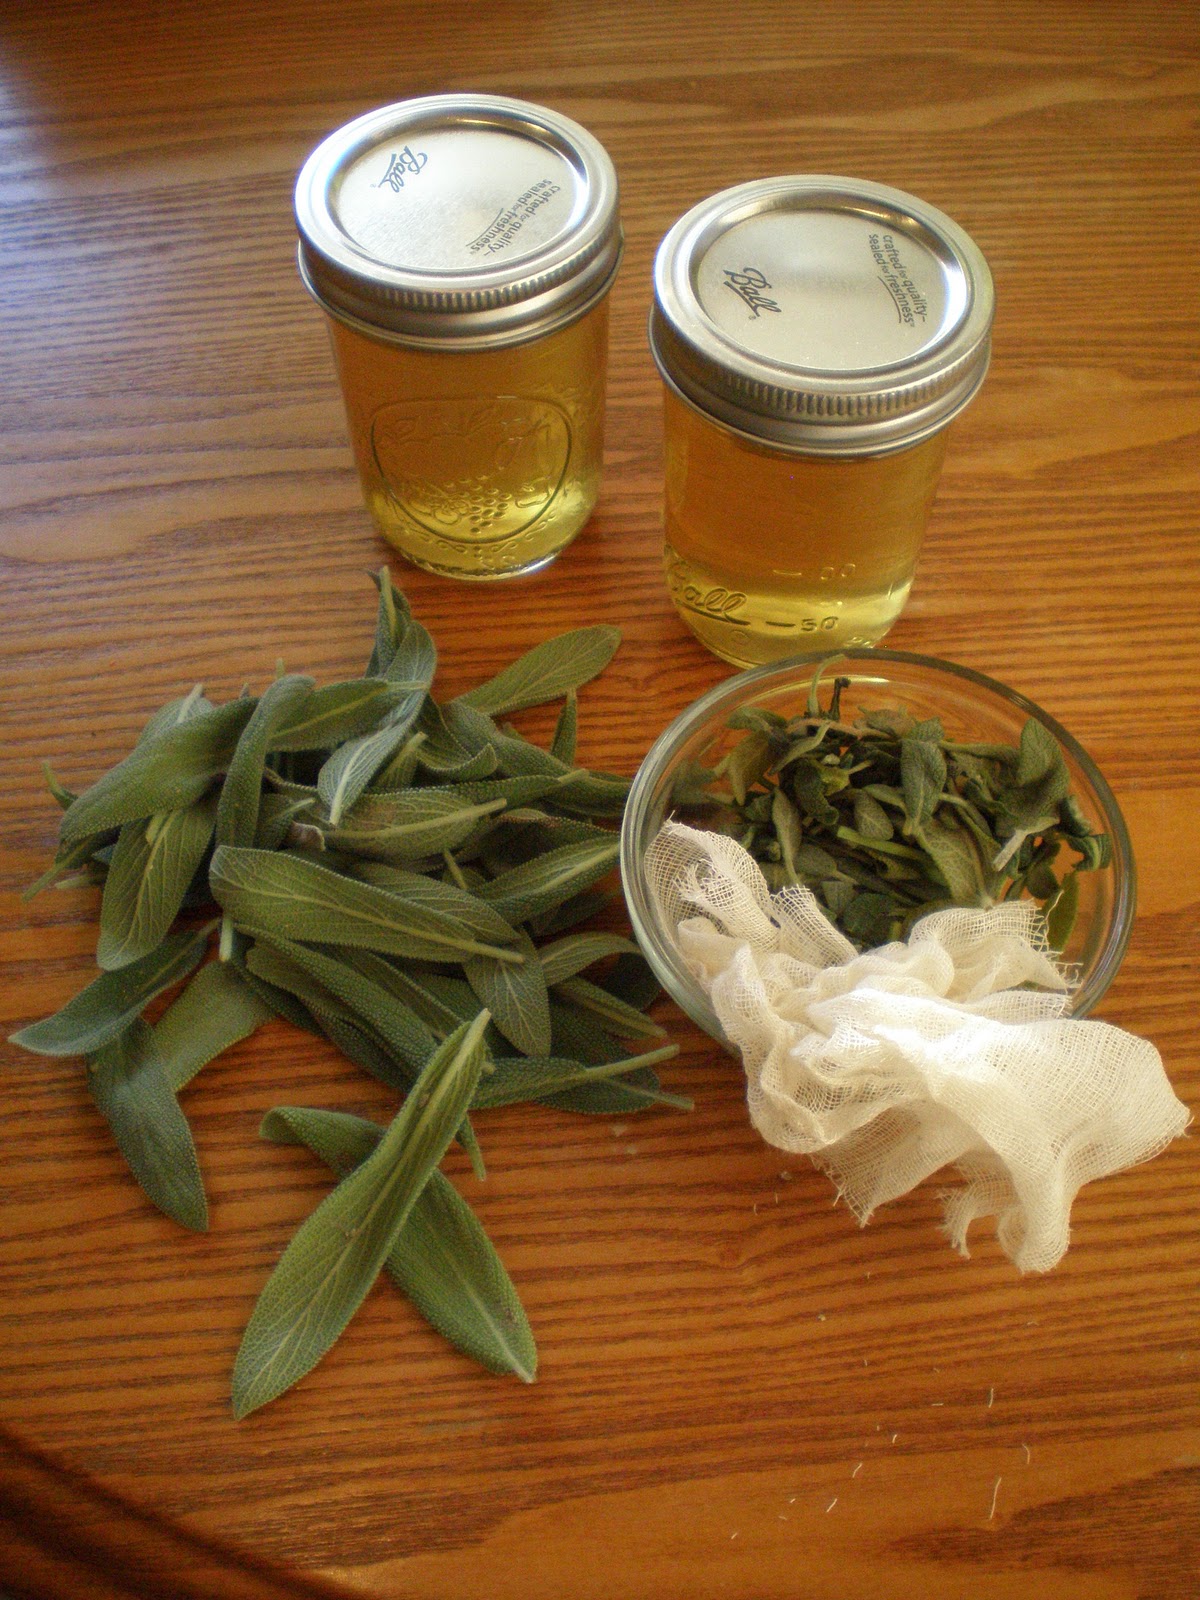
two jars. leftover leaves to be frozen. used leaves and muslin.
Do any of you grow sage? What do you use it for?
M
Tuesday, October 26, 2010
the news can be interesting.
I was listening to NPR on my way to work today and found myself smiling when I heard about how organic farms are popping up in China. Remember how, a couple of years ago, it was discovered that a Chinese brand of milk powder contained melamine? Well, apparently it stirred up awareness about food safety among the Chinese people, many of whom are turning towards organic.
Read (or listen to) the story here.
Blessings!
<3
M
Read (or listen to) the story here.
Blessings!
<3
M
Monday, October 25, 2010
general updates and goings on. (with an exciting announcement at the end)
First of all, it's time to update you about my itsy-bitsy garden. I'm sure you're all wondering how my radishes and carrots are doing, so here are some photos:


about 1 week after planting
does this mean good luck?

taken today!almost 1 month since planting
It's hard to tell if the radishes are doing better or if they're just maturing faster than the carrots. I know they are faster growing plants. At any rate, it's fun to grow things from seed!
Let's see, what else is new on the home front?
I'm still on the "no-poo" bandwagon, which has been a fun experiment. I've perfected my regimen and now here is what I do, for those who are curious:
1. I use diluted apple cider vinegar (about 1/2-1 oz vinegar to 12 oz water...just an approximation) as a rinse about every day. Sometimes I can skip a day, but if I just use water I notice my hair becomes dried out. We have very hard water where I live, maybe that is why. I just wet my hair and run my fingers through as though I'm shampooing (but I'm only using water) and then I rinse with the vinegar solution. I rinse the vinegar out with water.
2. Twice a week or so I clean my hair with baking soda. I put a few tablespoons of baking soda in a little dish/ramekin and add warm water. I stir it up with my finger and then pour over my dry hair in the shower. The baking soda solution is definitely watery. I had to play around with the amount of water to get a consistency I liked. I then scrub my scalp with my fingertips and let sit for a minute or so. Any longer and it starts to dry out my scalp and make it itchy. Then I rinse and follow with the vinegar solution as described as above.
I've noticed I can't use the baking soda more than twice a week because it dries out my scalp. But if I don't use it at all, my hair is too oily. I still have some days that are more oily than others, but I'm much happier with my new "hair cleaning" method. No more trying to find a shampoo that works for me, no more spending so much money on hair products. And my hair is SO HEALTHY! Oh, and as far as the vinegar smell goes, once your hair dries the smell is gone. I'd like to try infusing the vinegar with herbs (lavender?) - I'll let you know how that goes if I do it.
Oh - and while we're on the topic of home-made cosmetics, I've been exclusively using coconut oil and jojoba oil as facial moisturizers and have been loving the results. The coconut oil is heavier, so I use it at night and on days where my skin is more dry. The jojoba oil is lighter and can be used any time.
Switching gears completely, I went on a trip home to visit my parents in the SF area earlier this month. While they worked during the weekdays, I busied myself in my dad's garden:


I will now conclude my longest-blog-post-ever by sharing one more fun-fact:
Our church is starting a community garden! Eeeeeeeeeeeeee! I am very excited. J and I spent our car-ride on the way to meeting his parents for lunch making up names for our future plot. His parents have already made requests as to what we should put in it (his dad wants some of those saucer-shaped squash). How fun is that! The plots are 4' x 6'. Not sure when they will be available yet - I think they're still working out what the financial commitment will be and all of that nitty-gritty stuff. But I'm excited! Keep your eyes peeled for more about that!
Phew!
Enjoy your last week of October
<3
M
I'm still on the "no-poo" bandwagon, which has been a fun experiment. I've perfected my regimen and now here is what I do, for those who are curious:
1. I use diluted apple cider vinegar (about 1/2-1 oz vinegar to 12 oz water...just an approximation) as a rinse about every day. Sometimes I can skip a day, but if I just use water I notice my hair becomes dried out. We have very hard water where I live, maybe that is why. I just wet my hair and run my fingers through as though I'm shampooing (but I'm only using water) and then I rinse with the vinegar solution. I rinse the vinegar out with water.
2. Twice a week or so I clean my hair with baking soda. I put a few tablespoons of baking soda in a little dish/ramekin and add warm water. I stir it up with my finger and then pour over my dry hair in the shower. The baking soda solution is definitely watery. I had to play around with the amount of water to get a consistency I liked. I then scrub my scalp with my fingertips and let sit for a minute or so. Any longer and it starts to dry out my scalp and make it itchy. Then I rinse and follow with the vinegar solution as described as above.
I've noticed I can't use the baking soda more than twice a week because it dries out my scalp. But if I don't use it at all, my hair is too oily. I still have some days that are more oily than others, but I'm much happier with my new "hair cleaning" method. No more trying to find a shampoo that works for me, no more spending so much money on hair products. And my hair is SO HEALTHY! Oh, and as far as the vinegar smell goes, once your hair dries the smell is gone. I'd like to try infusing the vinegar with herbs (lavender?) - I'll let you know how that goes if I do it.
Oh - and while we're on the topic of home-made cosmetics, I've been exclusively using coconut oil and jojoba oil as facial moisturizers and have been loving the results. The coconut oil is heavier, so I use it at night and on days where my skin is more dry. The jojoba oil is lighter and can be used any time.
Switching gears completely, I went on a trip home to visit my parents in the SF area earlier this month. While they worked during the weekdays, I busied myself in my dad's garden:

jalapeno peppers, still blooming

these roses have a lemony-delicious scent

strawberry blossom

cherry tomatoes

1/2 of the cherry tomato crop!

on a roasting pan, getting ready for oven-drying

sprinkled with salt...yum!
Unfortunately, I don't have any pictures of the final results of the oven-dried tomatoes (which we put in 2 jars, covered with olive oil, peppercorns, and basil). Which means I'll have to make them again the next time my dad has a plethora of tomatoes that need to be used up. But I will say that they tasted soooo good on some crackers with the feta cheese I picked up at Happy Acres Family Farm on the way up to my parents house. I took some pictures there to supplement my previous post about the farm, when J and I took a tour and learned how to milk a goat. Here are those photos:

quizzical duck


how are goats so photogenic??

my favorite is when they awkwardly stand on rocks and other tall things.

lazy farm dog

their farm stand, decked out in October attire
I will now conclude my longest-blog-post-ever by sharing one more fun-fact:
Our church is starting a community garden! Eeeeeeeeeeeeee! I am very excited. J and I spent our car-ride on the way to meeting his parents for lunch making up names for our future plot. His parents have already made requests as to what we should put in it (his dad wants some of those saucer-shaped squash). How fun is that! The plots are 4' x 6'. Not sure when they will be available yet - I think they're still working out what the financial commitment will be and all of that nitty-gritty stuff. But I'm excited! Keep your eyes peeled for more about that!
Phew!
Enjoy your last week of October
<3
M
Subscribe to:
Posts (Atom)


